How to use Employee Profiles on Mvix CMS
Profile templates allow you to highlight important people across your organization on digital signage. Whether you are featuring employees, guests, or other individuals of interest, each profile can include a strong image along with key details such as achievements, background information, or a short message.
For many organizations, it can be challenging to introduce team members to visitors, colleagues in other departments, or new hires. The Profiles content app helps bridge that gap by turning your displays into a space for informal introductions. This helps build familiarity and a stronger sense of connection across your workplace.
How Can You Use The Profile Feature?
Displaying profiles on digital signage allows organizations to showcase their employee profiles, which include images and descriptions (or bios). This feature is useful across industries for example:
- Profile a Company Executive
- Profile an Employee of the Month or Team of the Month
- Highlight Top-Performing Trainers at Gyms
- Highlight New Church Members
- Highlight Guest Pastors
- Preview Products for Sale and Corresponding Leading Employees
- Highlight Healthcare Professionals for Each Unit
- Display Preceding Judges for Court Hearings
What You’ll Need:
- A compatible digital signage player e.g. Mvix, BrightSign, etc.
- Mvix CMS Software with a supported feature package
- Internet Connectivity
- Access to Profiles Content app
If you meet the requirements listed above, simply follow the steps below.
Using Profiles

- Hover over the “MEDIA” tab, and click ” ADD MEDIA”.
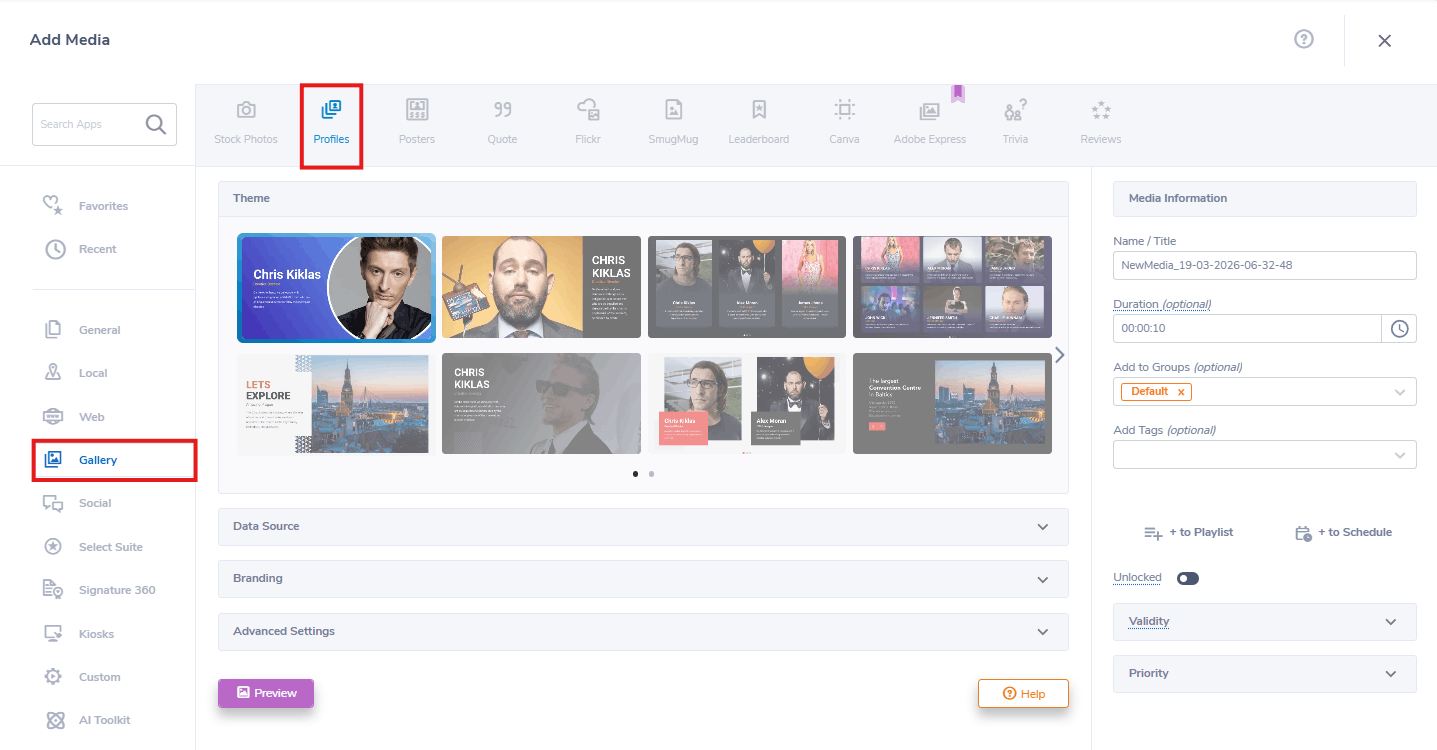
- Click on the “GALLERY” category.
- Click the “PROFILES” Content App.
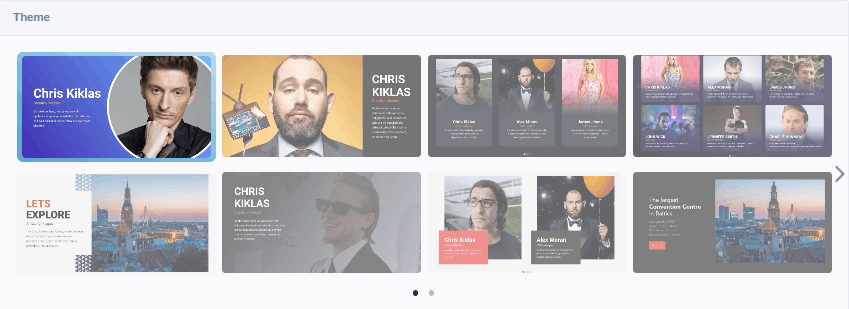
- Select your Theme to choose how the information will orient when put together.
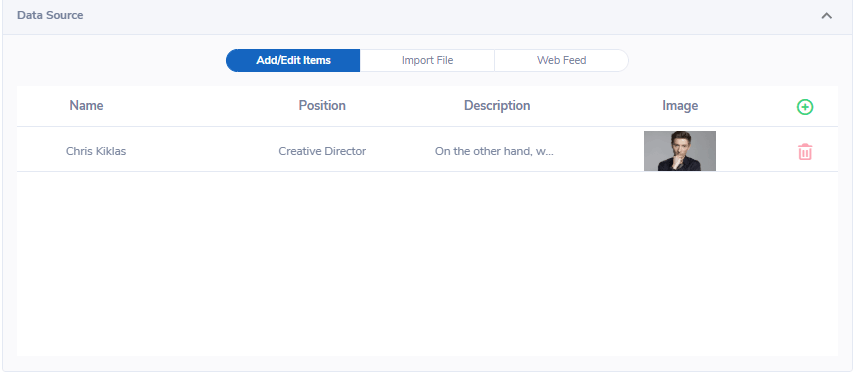
- After you choose a theme, choose between three “DATA SOURCE” options to add Donor information: “IMPORT FILE”, “WEB FEED”, AND “ADD/EDIT ITEMS. Furthermore, you can download a sample copy of the Donor list by clicking the CSV icon.
- “IMPORT FILE” allows you to import the Donor information via importing a file into the CMS. When using the “IMPORT FILE” option, the supported format is .CSV.
- The “WEB FEED” option will allow you to insert a link to the CSV file. One benefit of using this Data Source is that it will allow Mvix CMS to automatically display any updates showing the most recent and updated data. Furthermore, you can download a sample copy of the Donor list by clicking the CSV icon.
- The “Add/Edit Items” option will allow you to manually create each profile. Simply follow the template and fill out the fields with your information for the following:
- Name
- Position
- Description
- Image

- Under "BRANDING":
- Choose your Font Style for your Theme's Name, Description, and Position
- Choose the color for the Theme's Backgrounds 1 & 2, Name, Description, and Position.
- Under "ADVANCED SETTINGS":
- Change the transitions and the duration on the profiles themselves. Some themes come with animation (for example, a spinning half-circle) and you can change the duration of this animation as well.
- Choose the refresh rate(frequency of content refresh during playback)
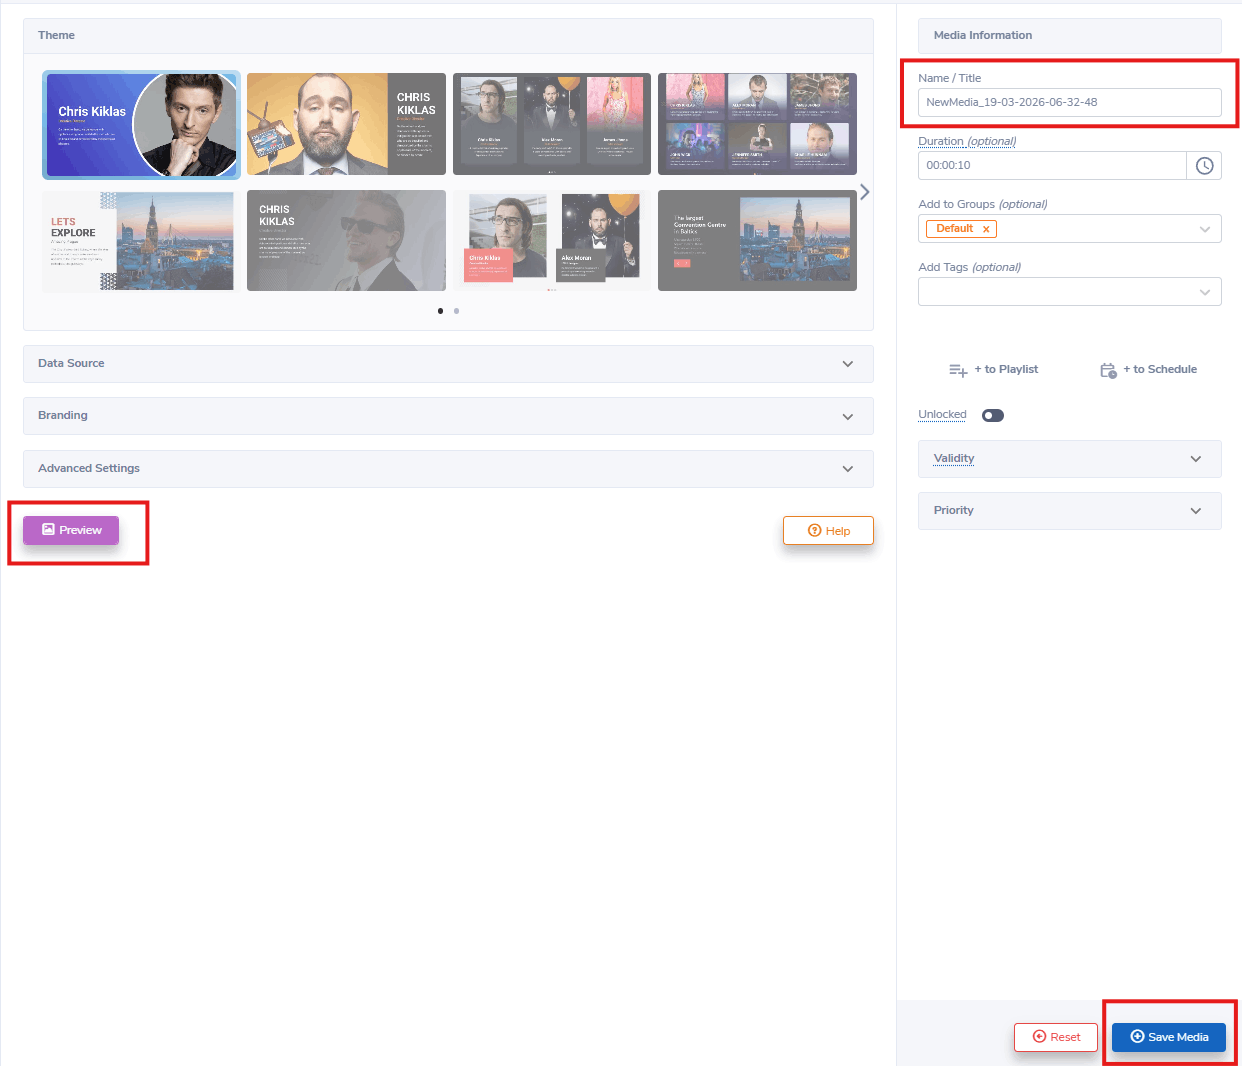
- Next, click “PREVIEW” to see a preview of your media to ensure it is formatted in the correct style and apply changes if needed.
- Lastly, once you are satisfied, name your media under “NAME/TITLE” and save by clicking “SAVE MEDIA” to your Media Library.
Digital Signage Forever
Designed for enterprise-digital signage deployments, our Mvix Signature 360 plan offers a lifetime warranty, free digital signage players every 3 years, accelerated issue resolution, and premium content. Intended to enable high system uptime, operational efficiency, and continuous business innovation, the plan ensures proactive upkeep of the signage network. Learn more about Mvix Signature 360.